Building a Page
This section explains how to build page content after creating a new page in the Pages menu.
You have three options to build your page content:
- Elementor Page Builder
- WPBakery Page Builder
- Gutenberg / Default Visual Editor
Although Blog, Portfolio, and other exclusive pages support page builders (Elementor, WPBakery), the Default Page template should be selected for building pages with other purposes.
Using Elementor or WPBakery Page Builder is highly recommended, but our themes are fully compatible with WordPress’ editor Gutenberg.
Tip: We recommend using Elementor or WPBakery Page Builder for ease of use and advanced customization. However, Gutenberg is a solid option for simple content creation.
Elementor Page Builder
Elementor is a drag-and-drop content builder plugin. It’s free and can be downloaded from WordPress.org or installed directly from the Plugins section in your dashboard.
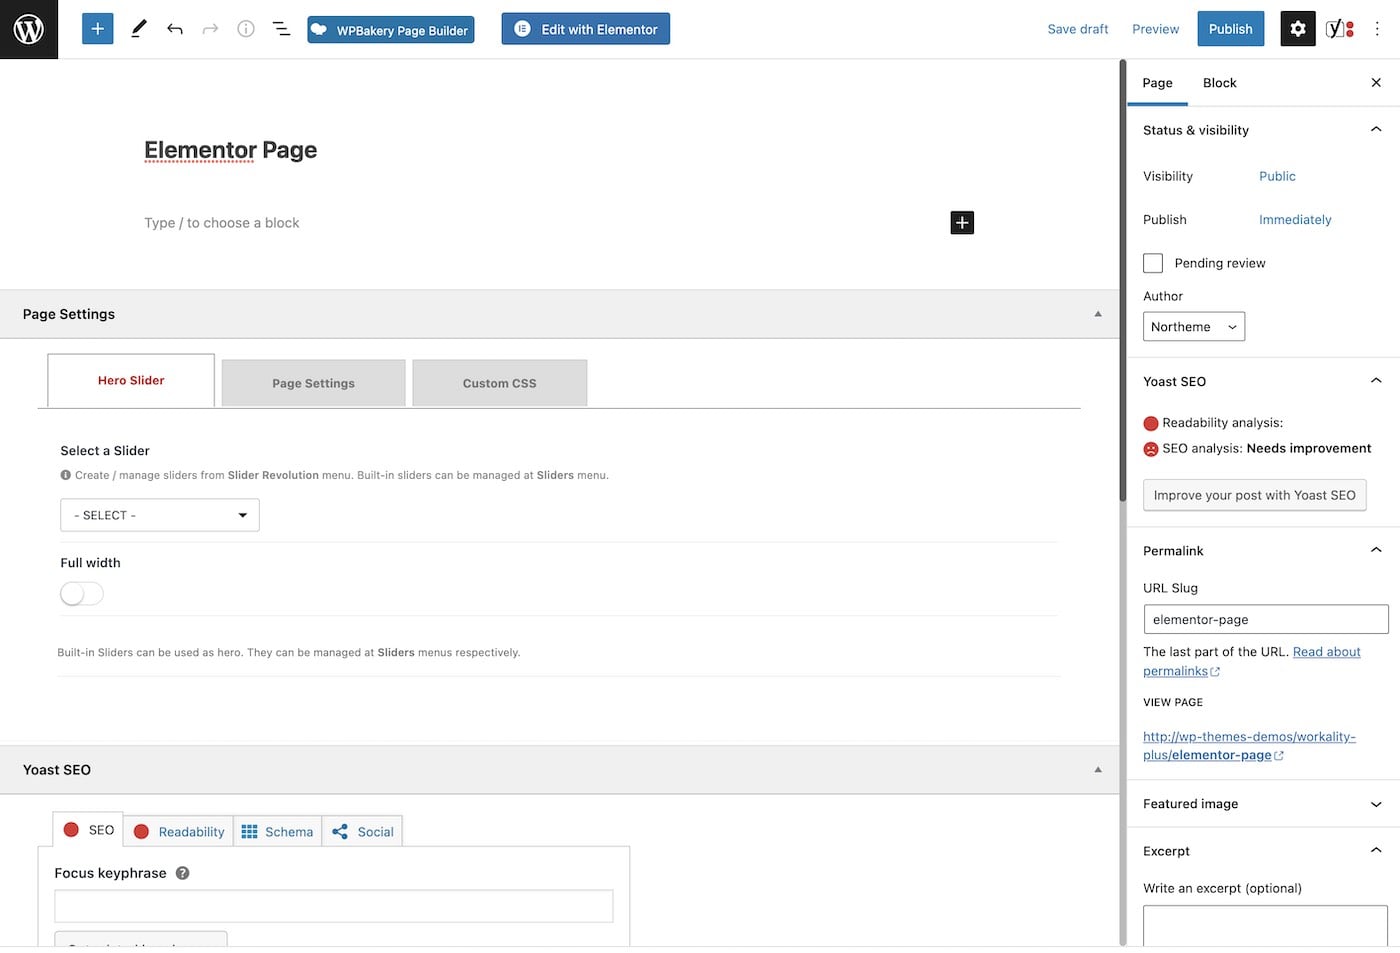
To activate Elementor on a page, click the Edit with Elementor button.
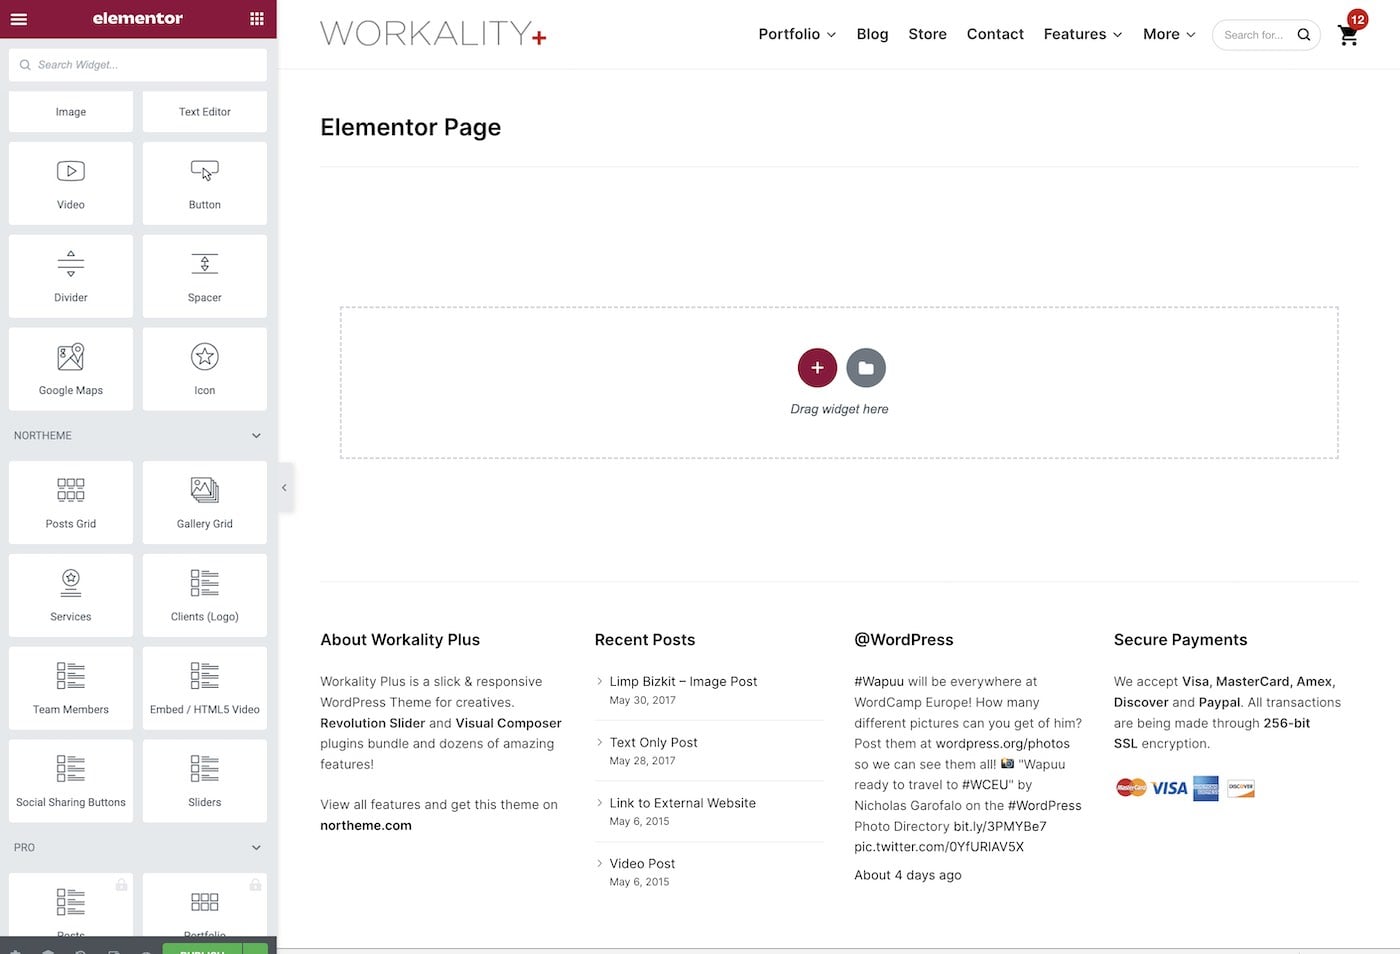
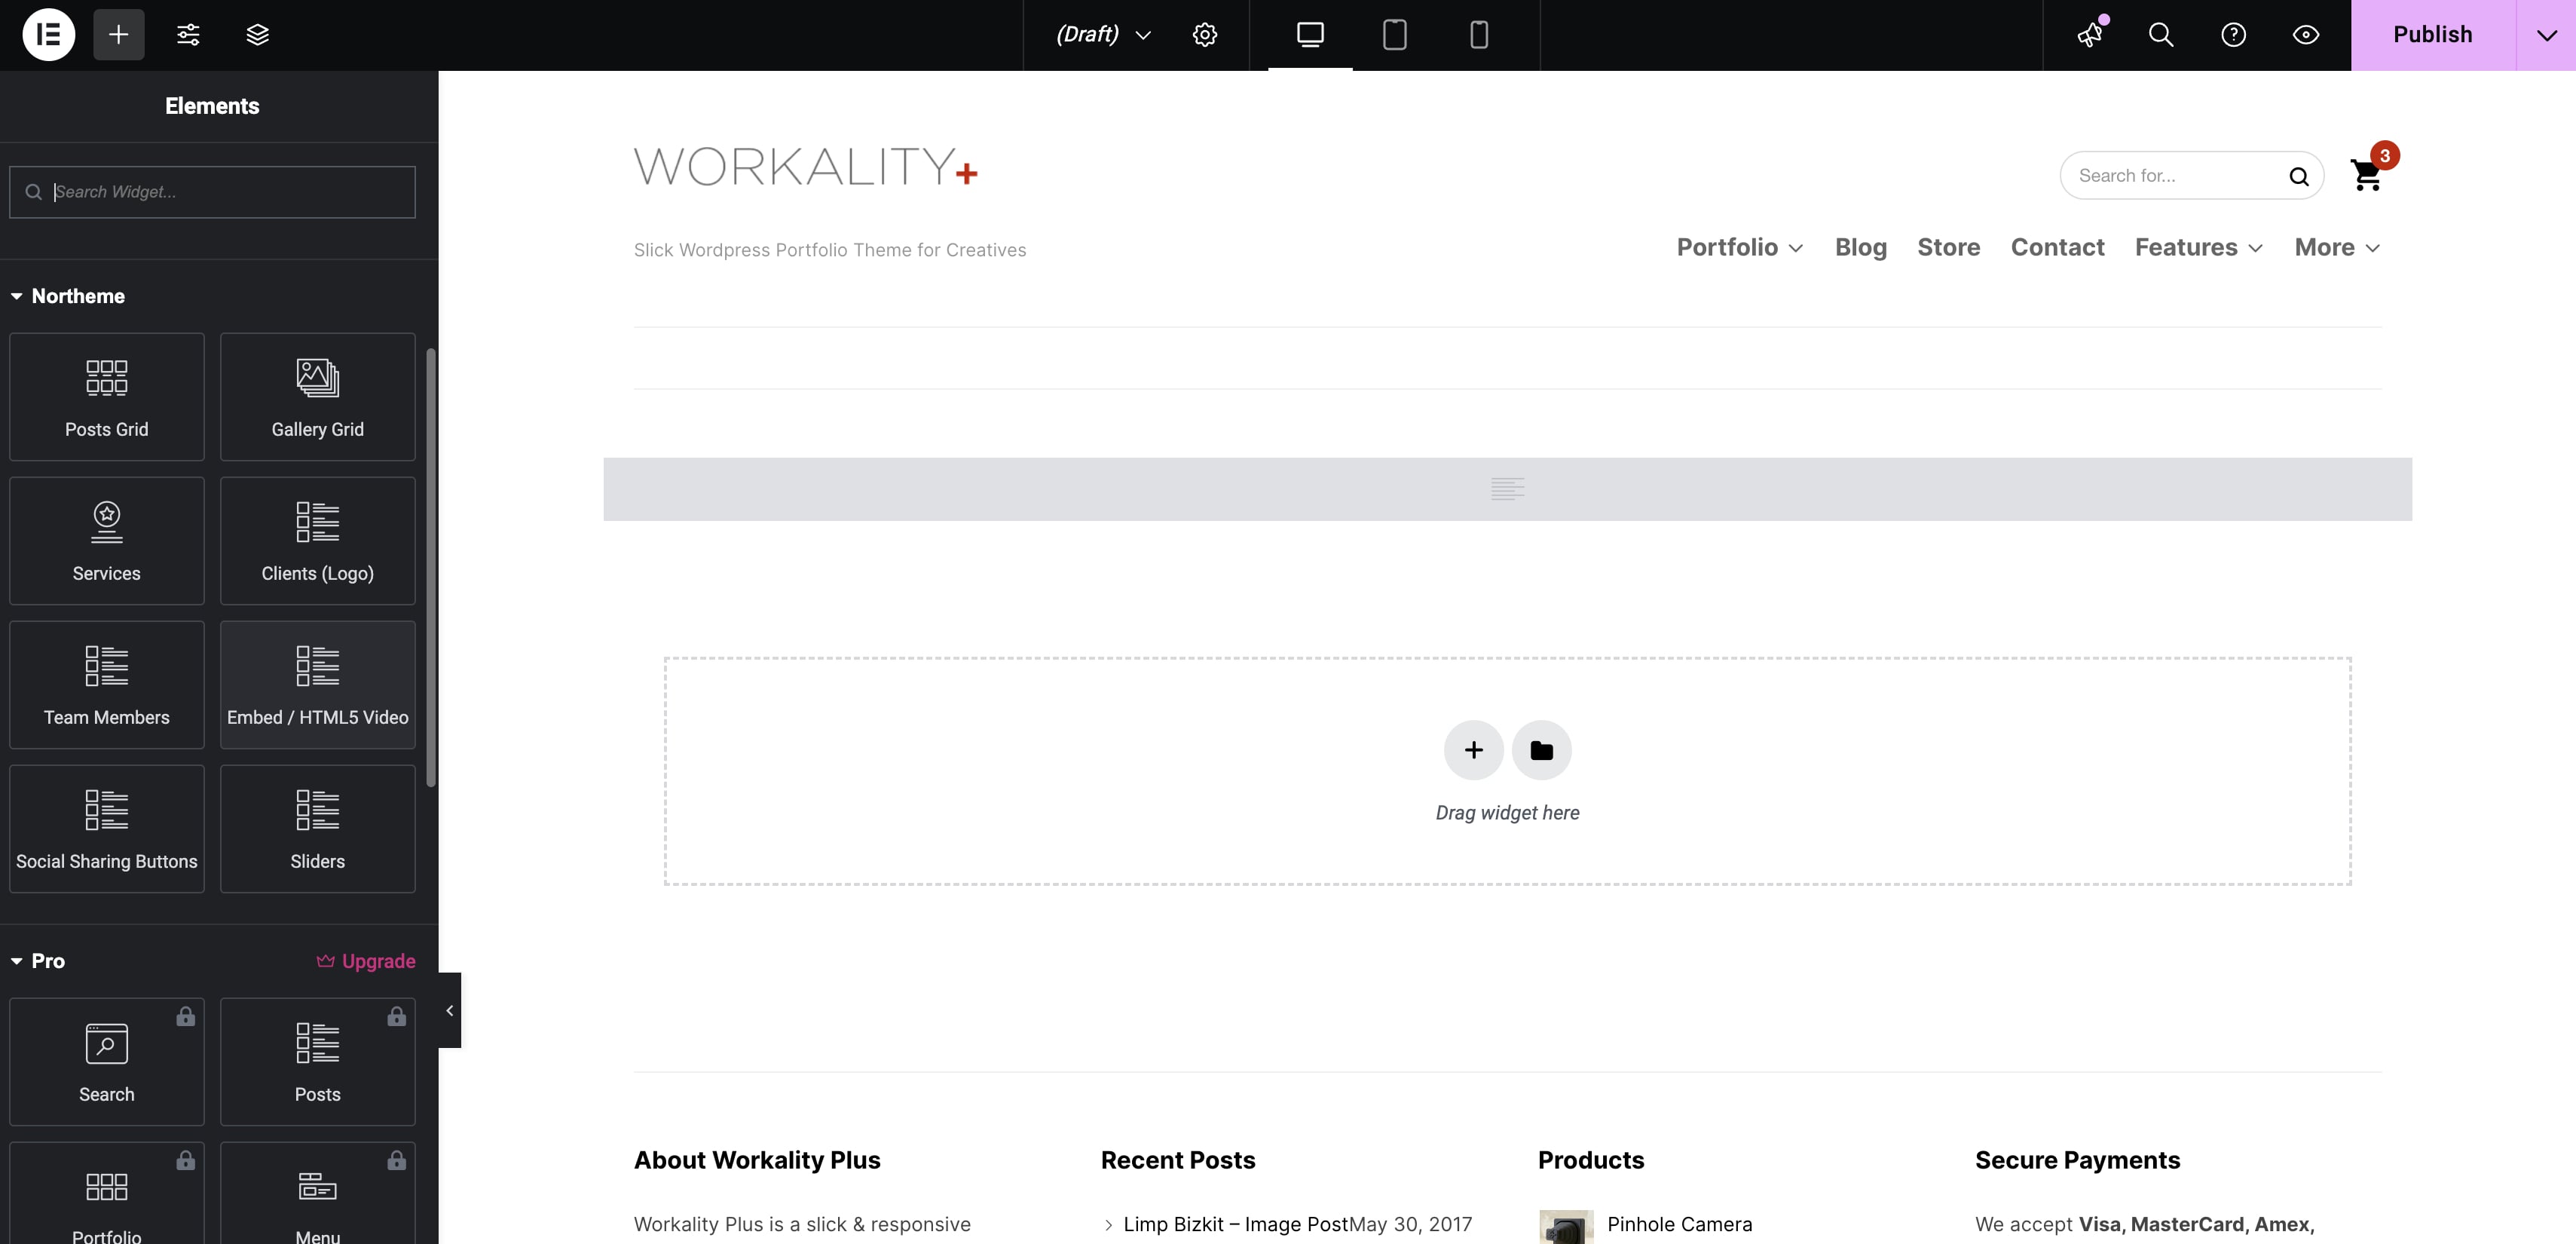
Activating Elementor will open the Elementor content editor. On the left column, you’ll find Elementor widgets. Theme-exclusive widgets can be found under the Northeme category. The following widgets are provided:
- Post Grid
- Gallery Grid
- Services
- Clients
- Team Members
- Embed Video
- Social Sharing Buttons
- Sliders
WPBakery Page Builder
WPBakery Page Builder is an intuitive drag-and-drop content builder plugin that comes with your theme. If it’s not installed and activated yet, please refer to the Bundle Plugins section.
The Back-end Editor and Front-end Editor buttons will appear below the Title field once WPBakery Page Builder is activated.
To activate WPBakery Page Builder for your page, click the Back-end Editor button.
WPBakery Page Builder is activated by default for pages. It can also be activated for blog and portfolio posts in WPBakery Page Builder > Role Manager > Post Types. Select Custom and opt-in for post types you want to use WPBakery Page Builder with.
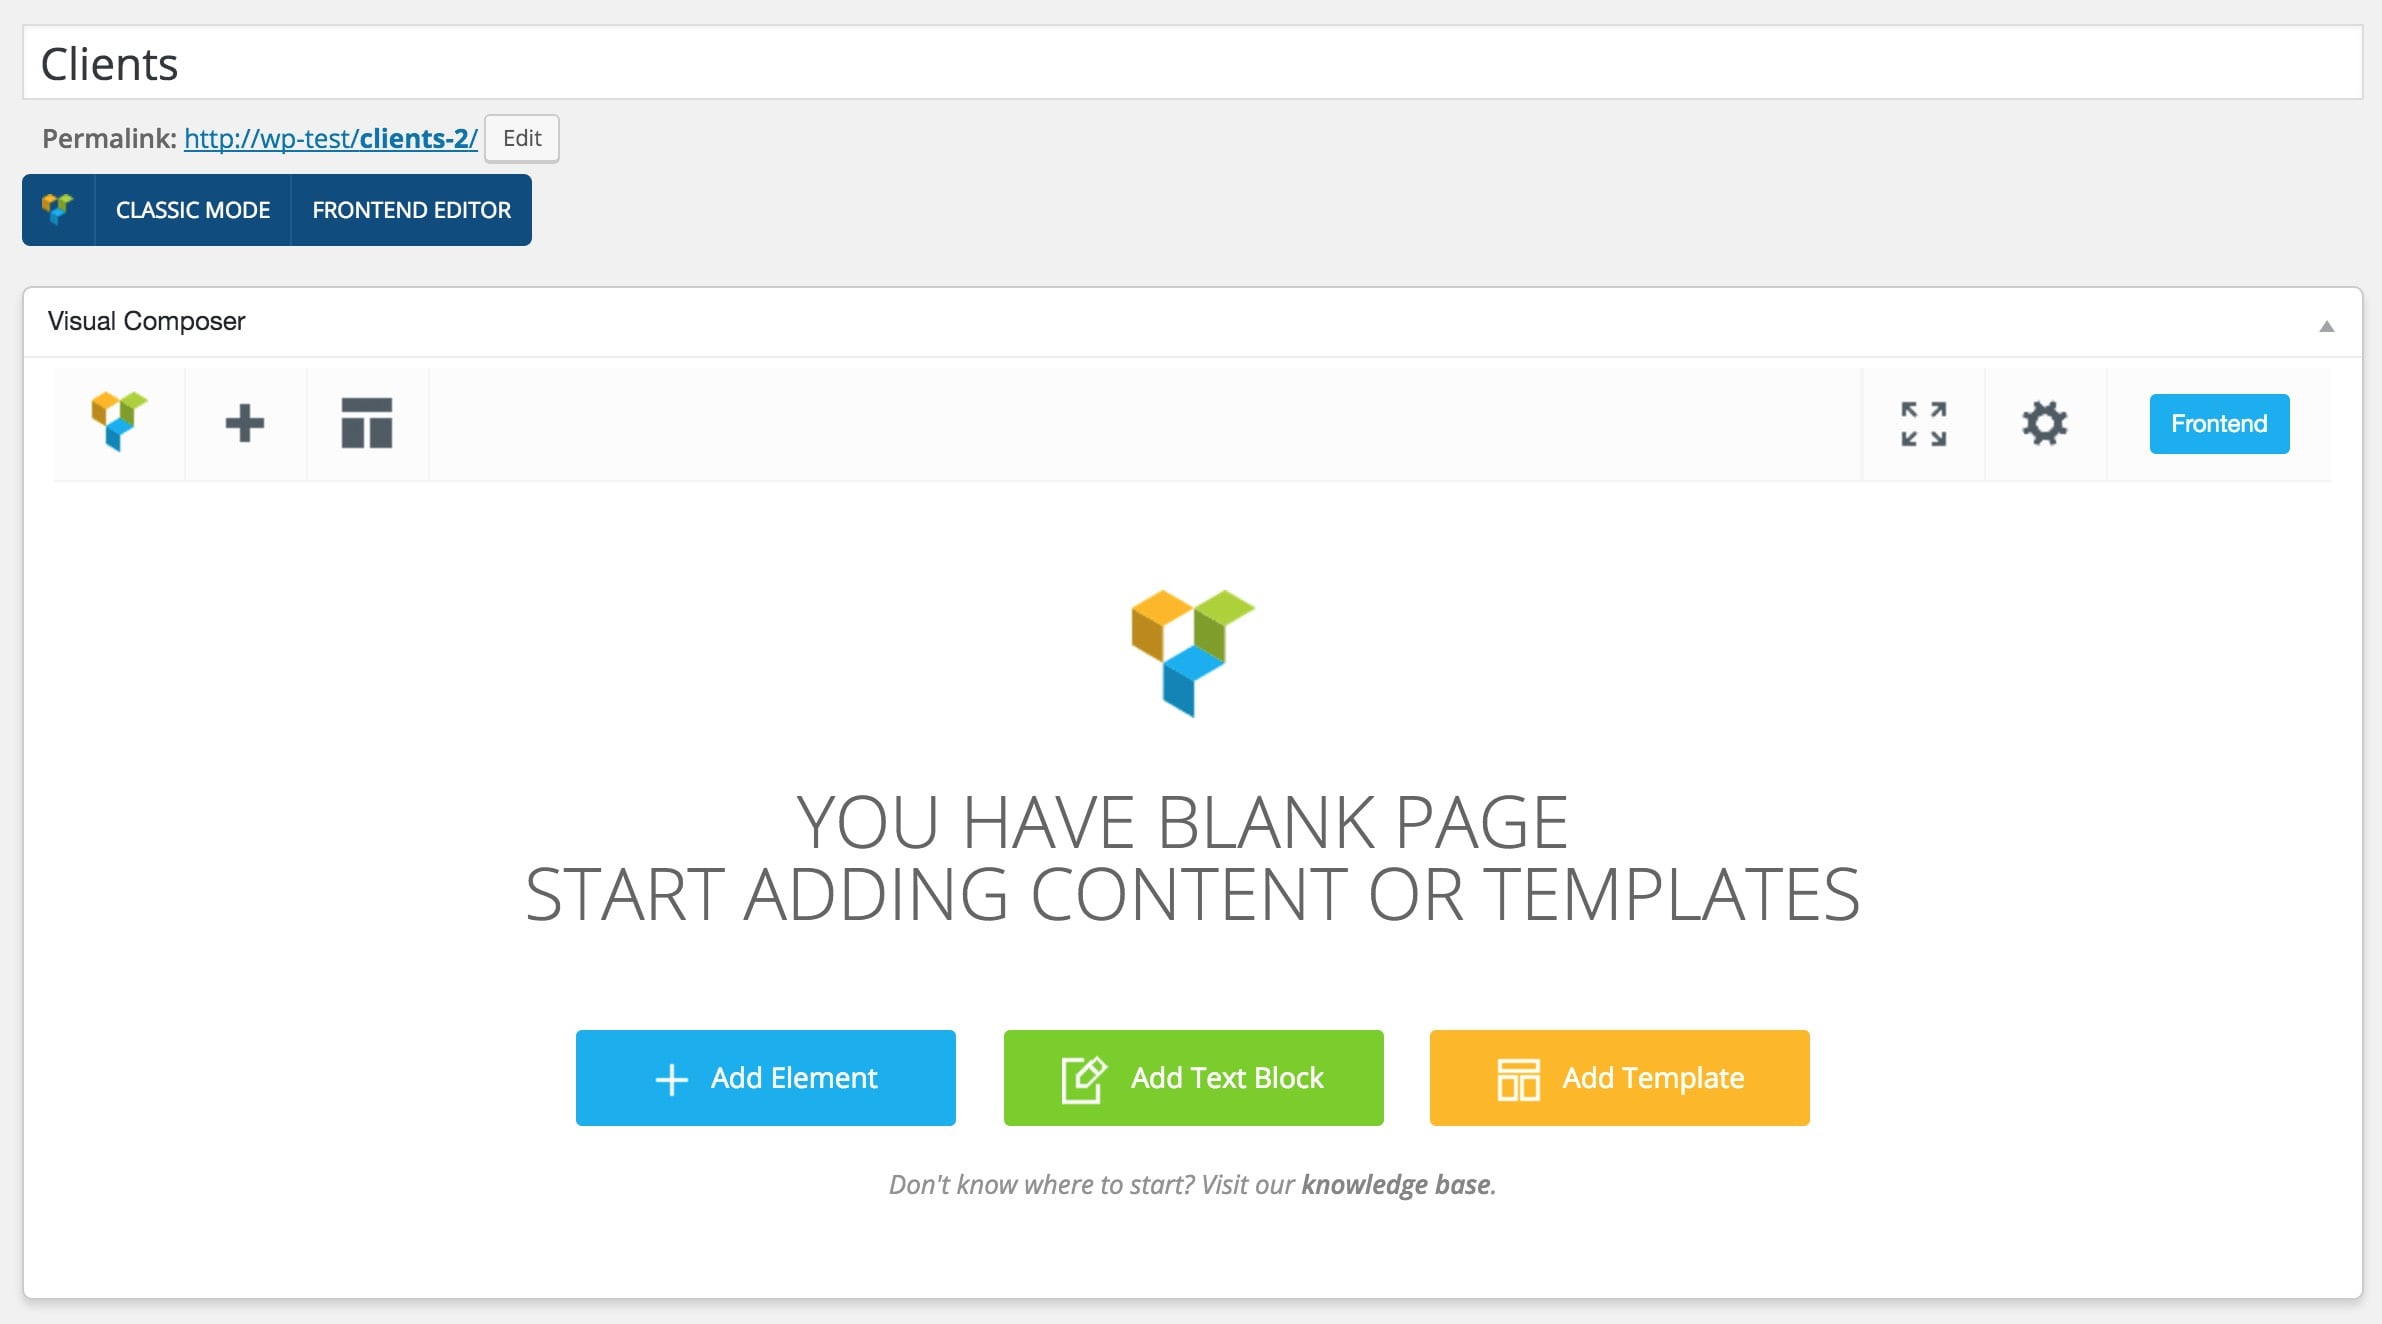
When switching to Back-end Editor mode, the WPBakery Page Builder welcome screen appears. You can add a page template or element to start building.
Page templates are pre-made page layouts, ready to use with a single click. Select a template and click the plus (+) button to add it to your content.
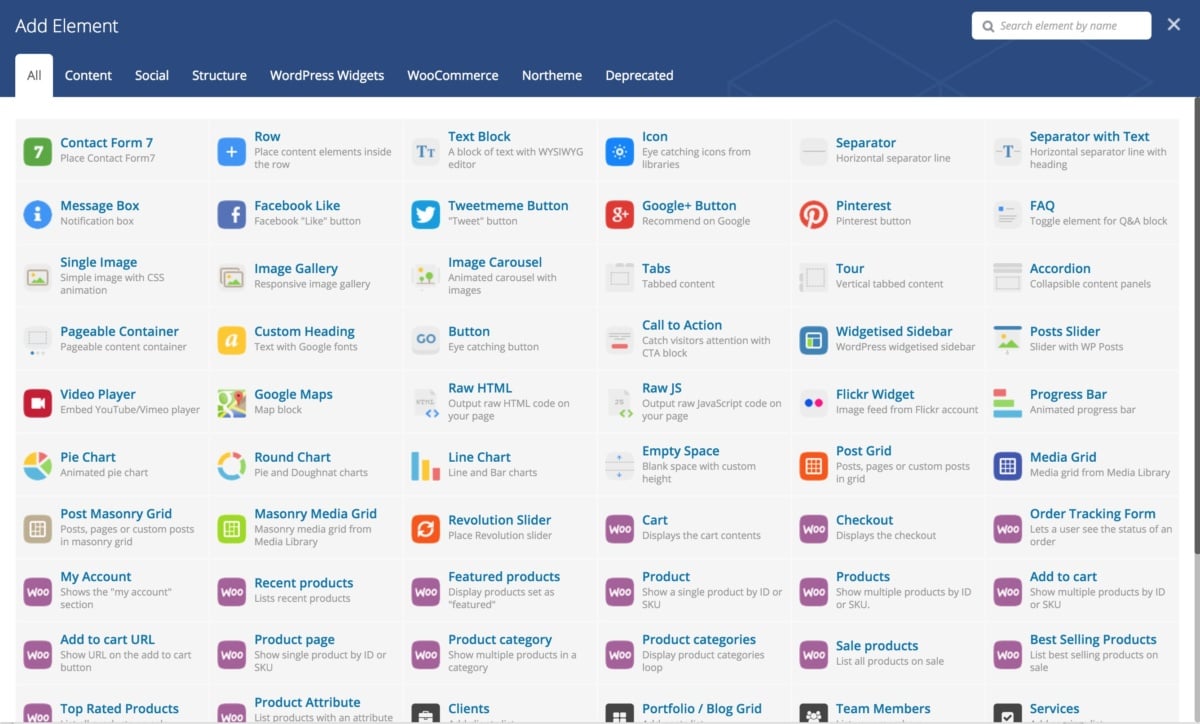
Elements are the building blocks for your page content. Click Add Element or the big plus button in the top-left corner to view the list of elements. WPBakery offers 40+ elements, including theme-exclusive elements.
Row Element
Adding a Row element is the first step to building your page. Rows are content wrappers that define the width and can be divided into columns.

WPBakery provides an intuitive interface, making it easy to work with even for beginners.
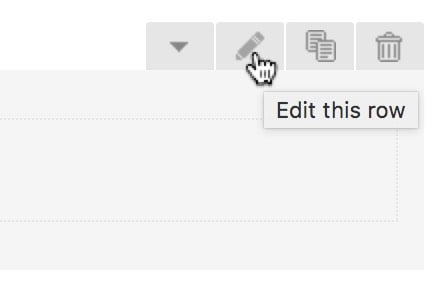
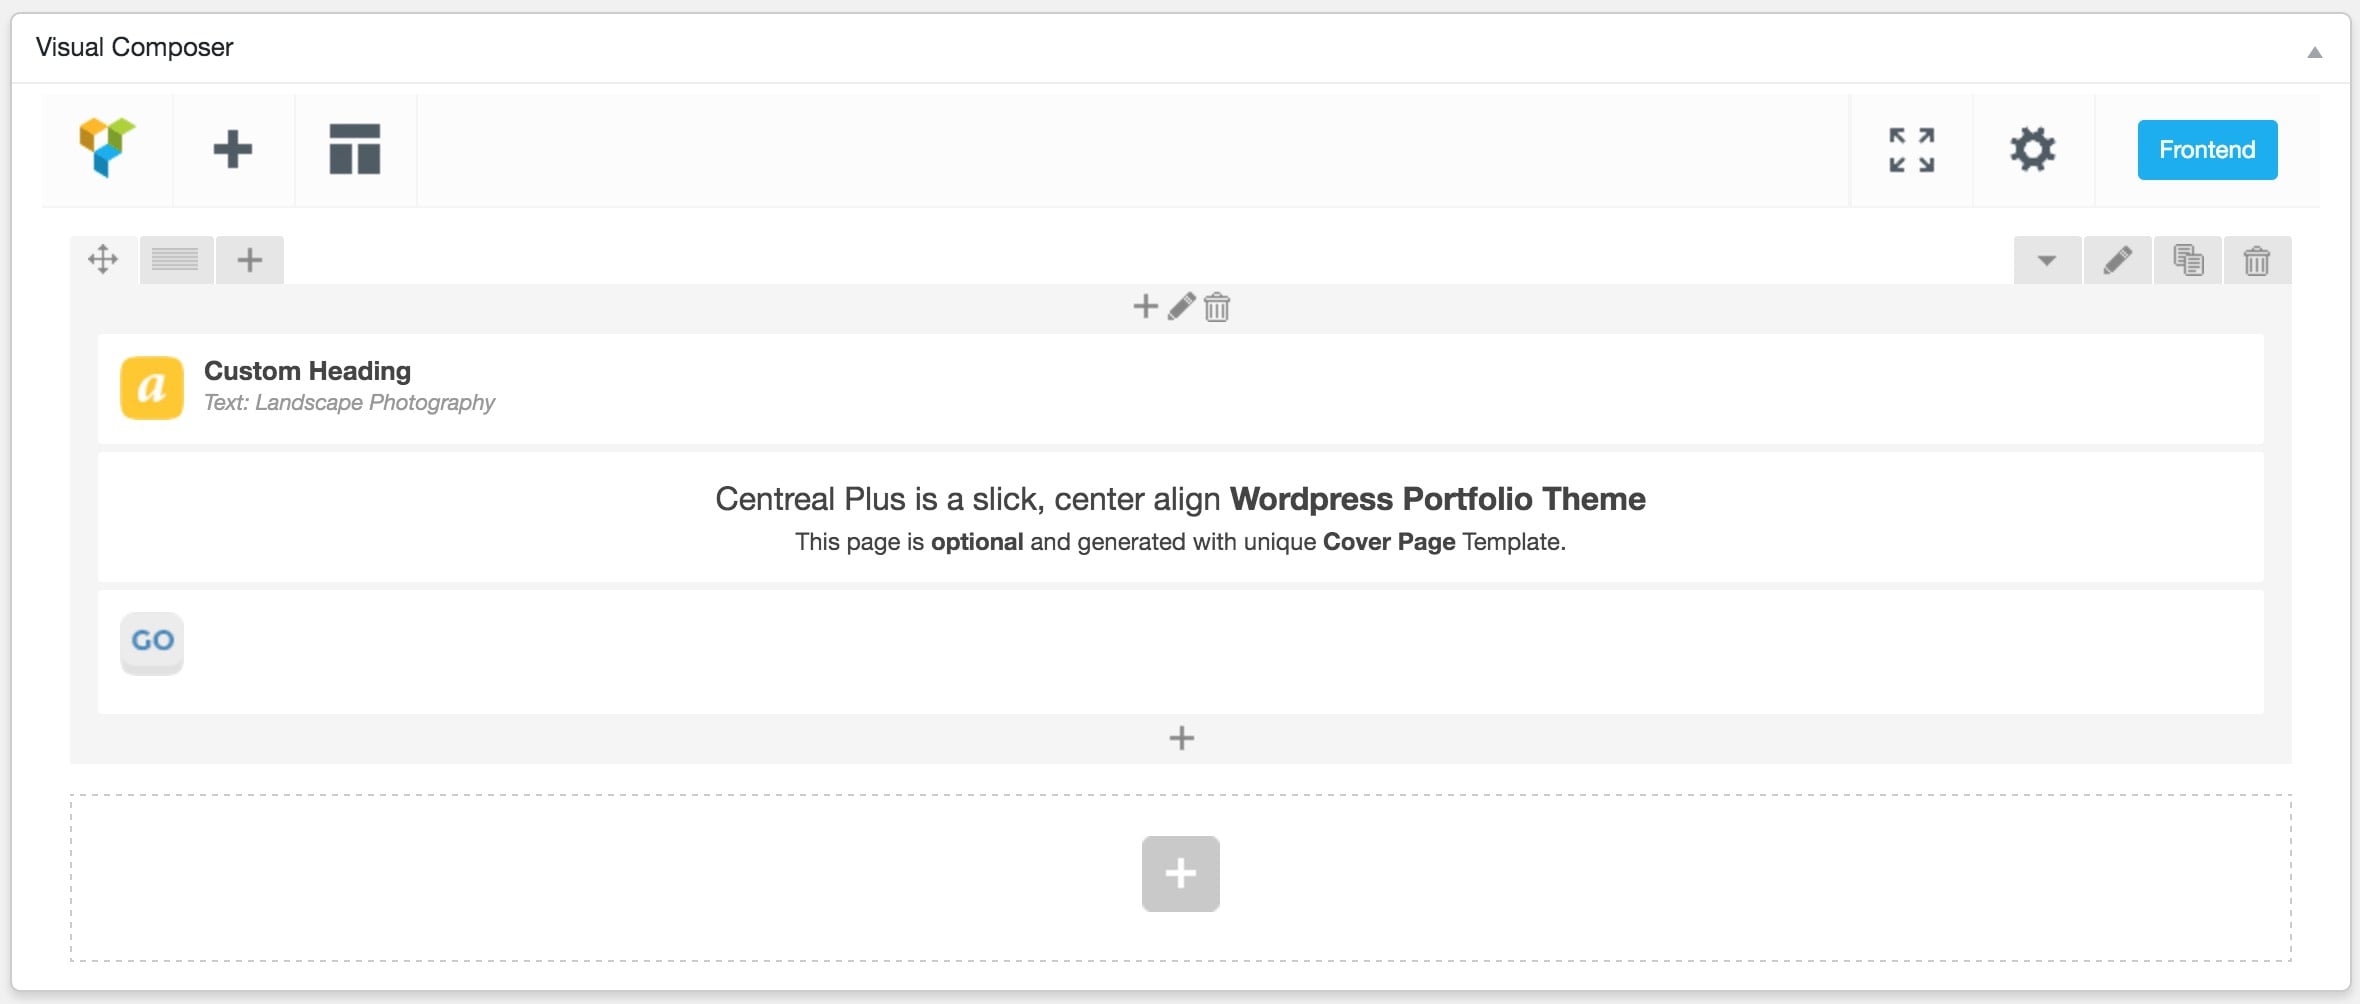
Rows come with buttons at the top left, center, and top-right. The small plus icon opens the element list to add an element inside a row. The edit icon opens the row options panel, and the trash icon deletes the row.
You can divide the row into columns by clicking the Column icon, which displays preset column types or custom options. After dividing, you can move elements between columns.

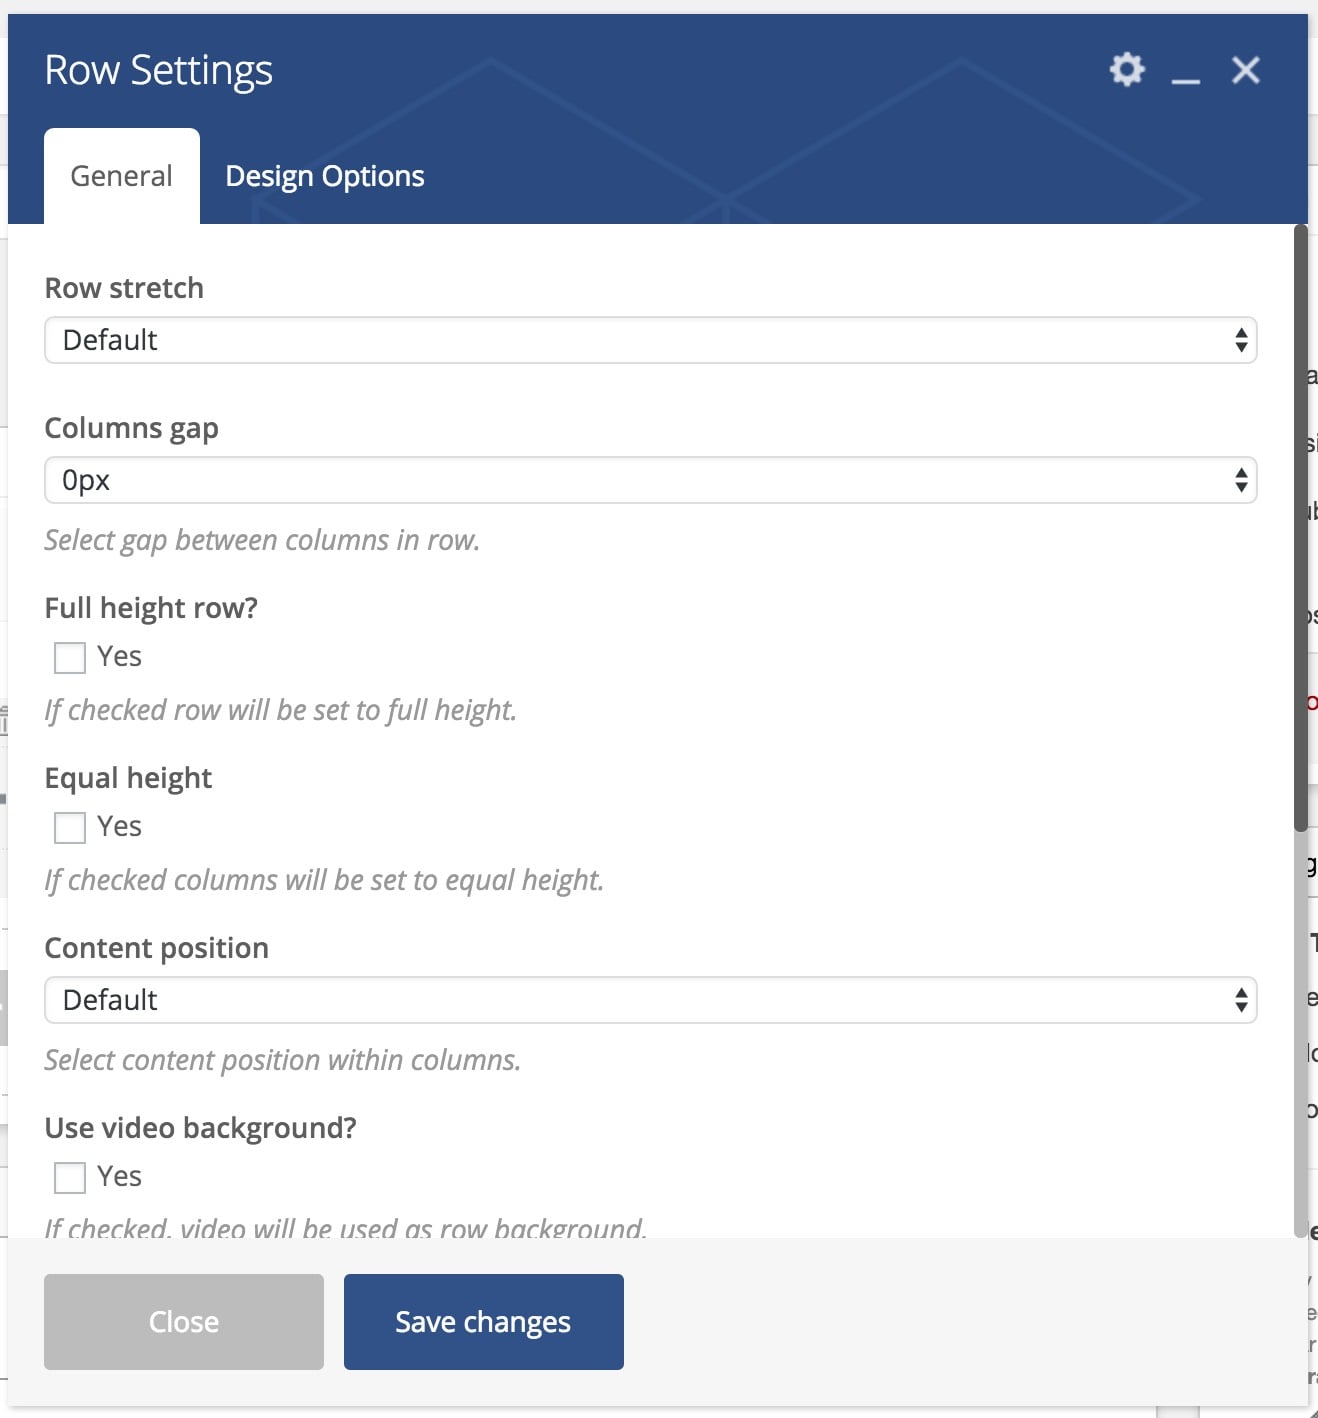
Clicking the edit button on the top-right will open the Row Settings panel.
Each row offers several options like Row Stretch, Full Height, Parallax, and more. The Row Stretch option is essential for determining column width. By default, a row stretches to the website wrapper/container. If you choose the Narrow option, the content width will be limited and centralized. Some themes may also provide the Full Width option, which stretches the content to the window.
Element Styling
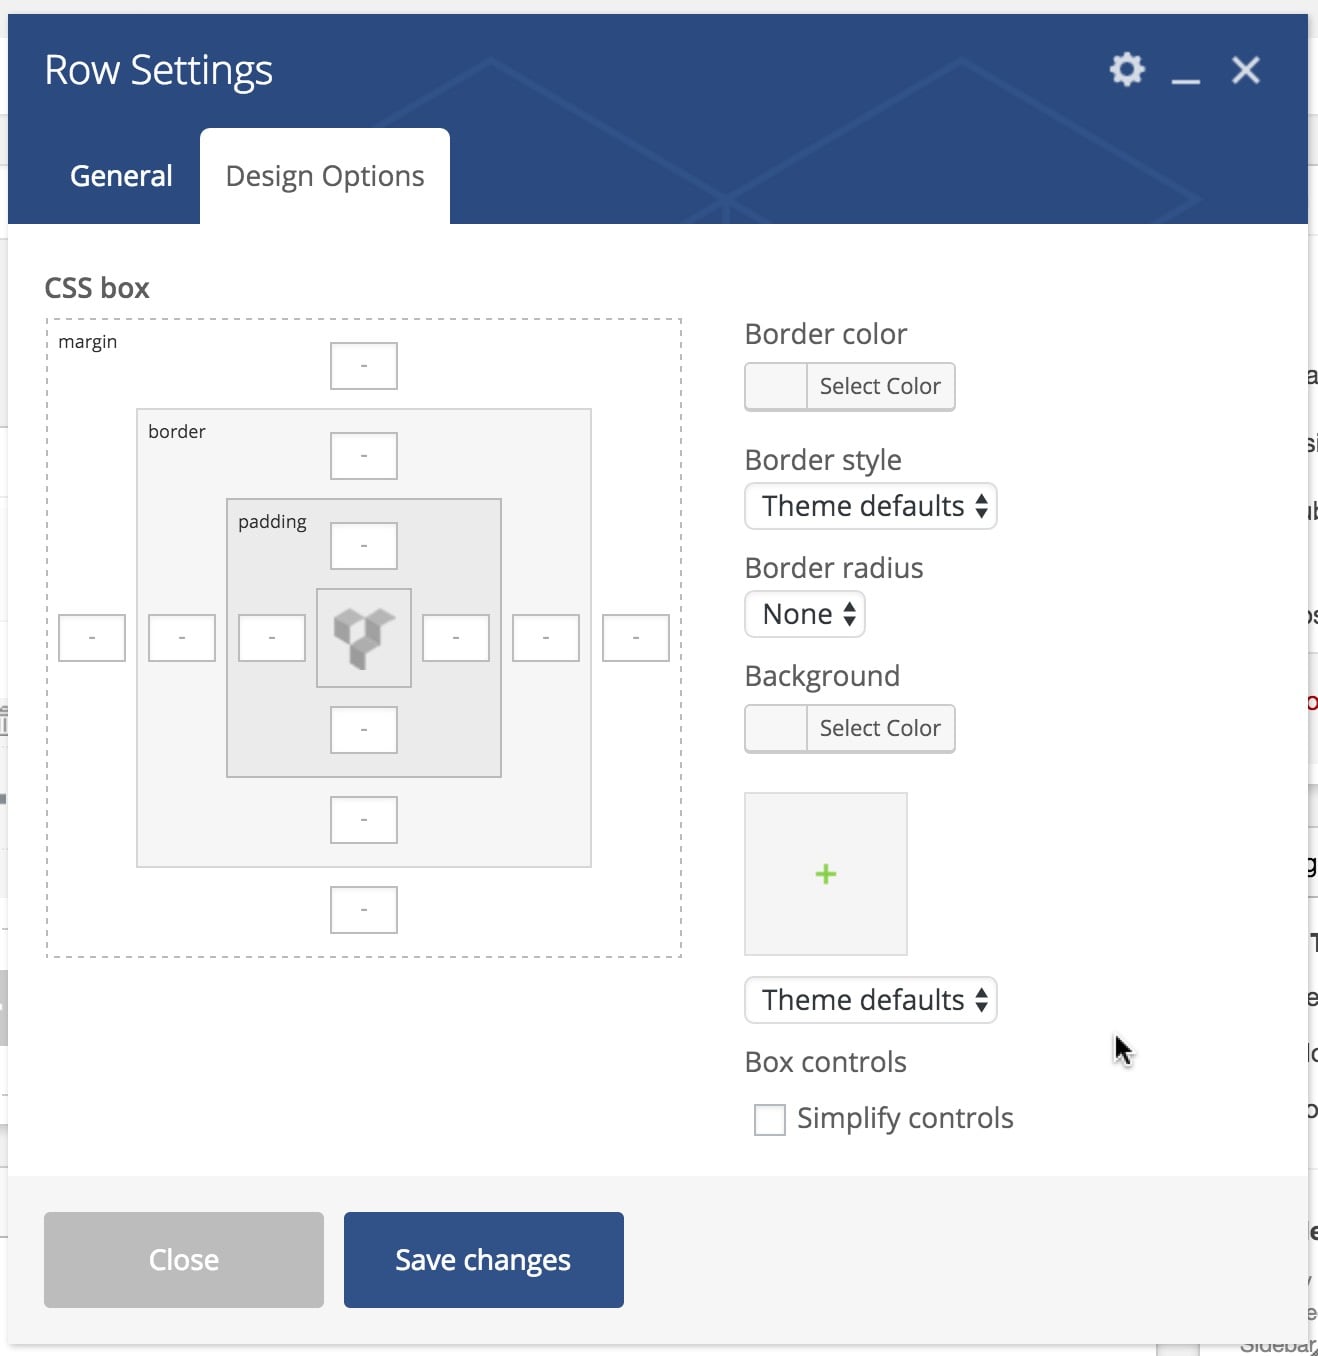
Almost every element in WPBakery comes with a Design Options tab in the edit screen. This tab offers various styling options like padding, margin, border, background color, and border color, allowing you to customize the appearance without writing any CSS.
Arranging Content
After adding a Row and dividing it into columns, you’re ready to add elements into each column. Click the plus (+) button to open the elements list panel and add an element according to your needs.
Each element provides its own exclusive options set to modify element properties.
Northeme Widgets for Page Builders
Northeme offers exclusive elements for WPB such as clients, services, gallery grid, posts grid etc. On add elements window, switch to Northeme tab to filter exclusive elements.
Exclusive Elementor Widgets
Exclusive WPBakery Widgets

Examples
Here are a few examples of how to use elements in your page layout:
Portfolio / Blog Grid
- Add Element: Click the Add Element button, then the plus (+) button, and select Portfolio / Blog Grid to add a new posts grid into your content.
- Element Options: This will reveal element options for the grid.
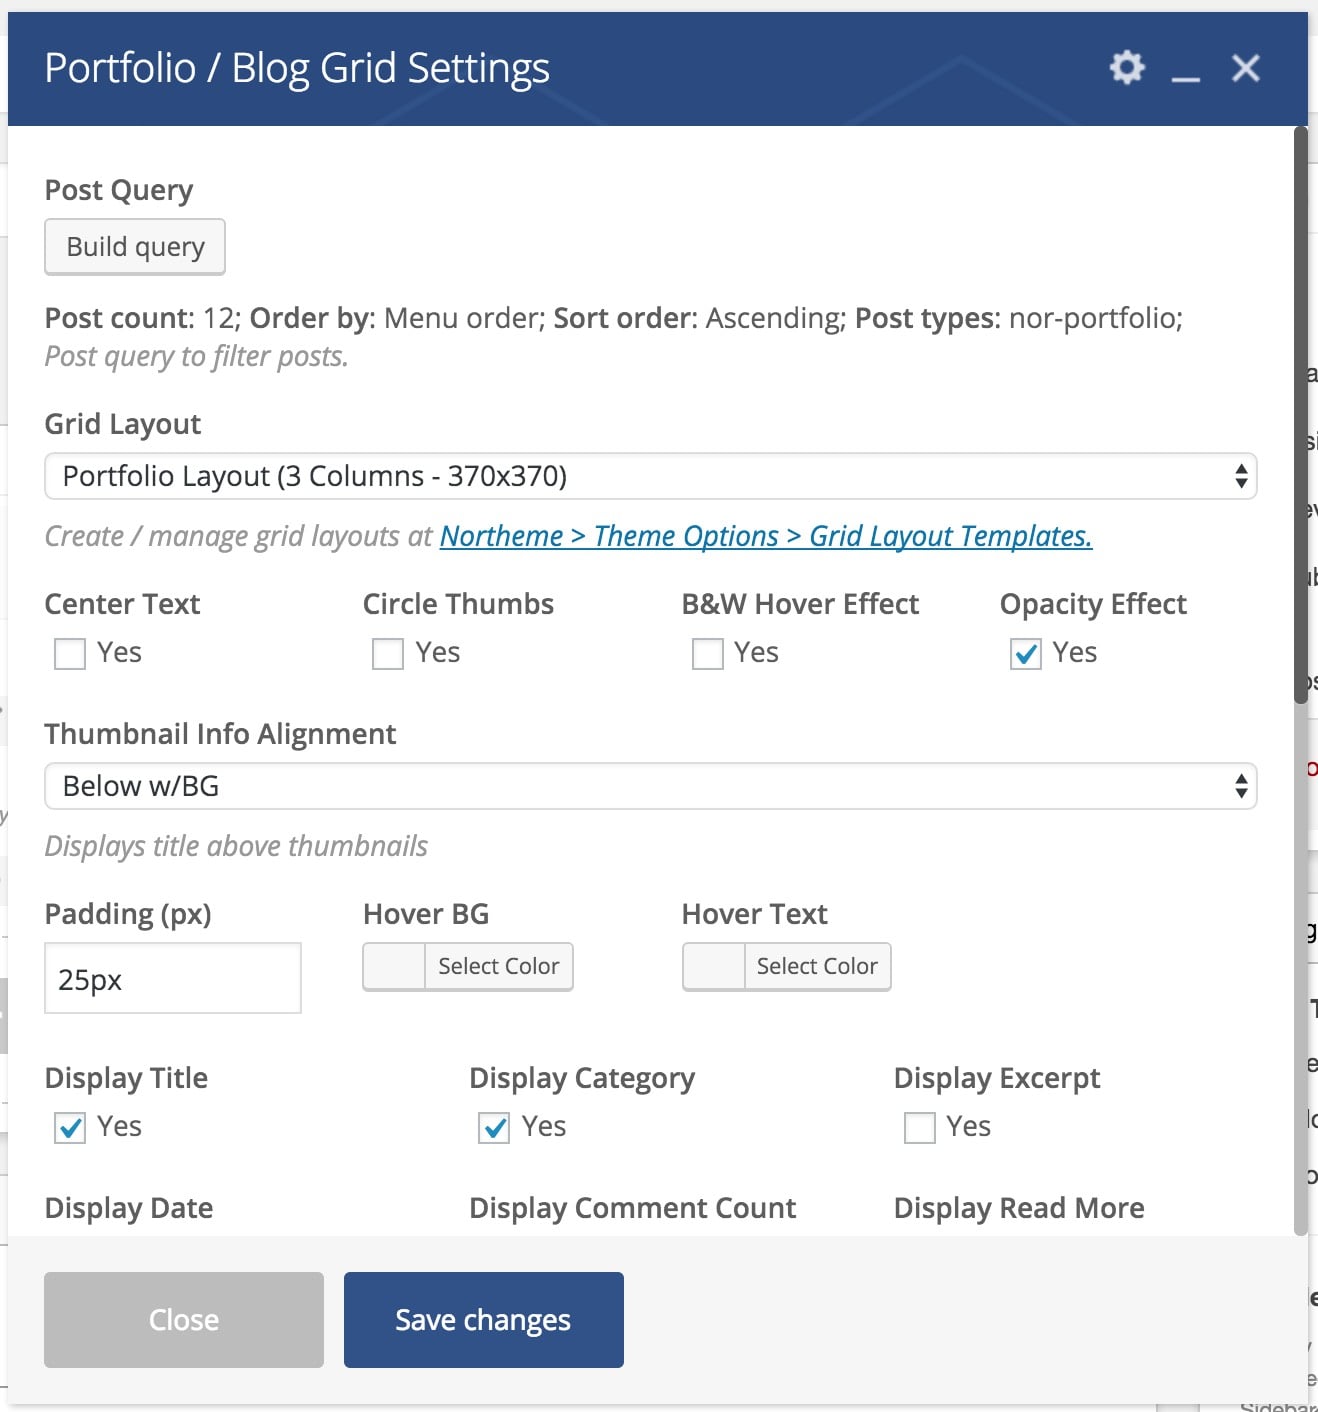
The Portfolio / Blog Grid element options provide similar post type options that you can find under Northeme > Theme Options > Portfolio. You can determine hover effects, post info alignment, and visibility options.
Also, a header can be added with a category list or a simple View All text that you can rename.
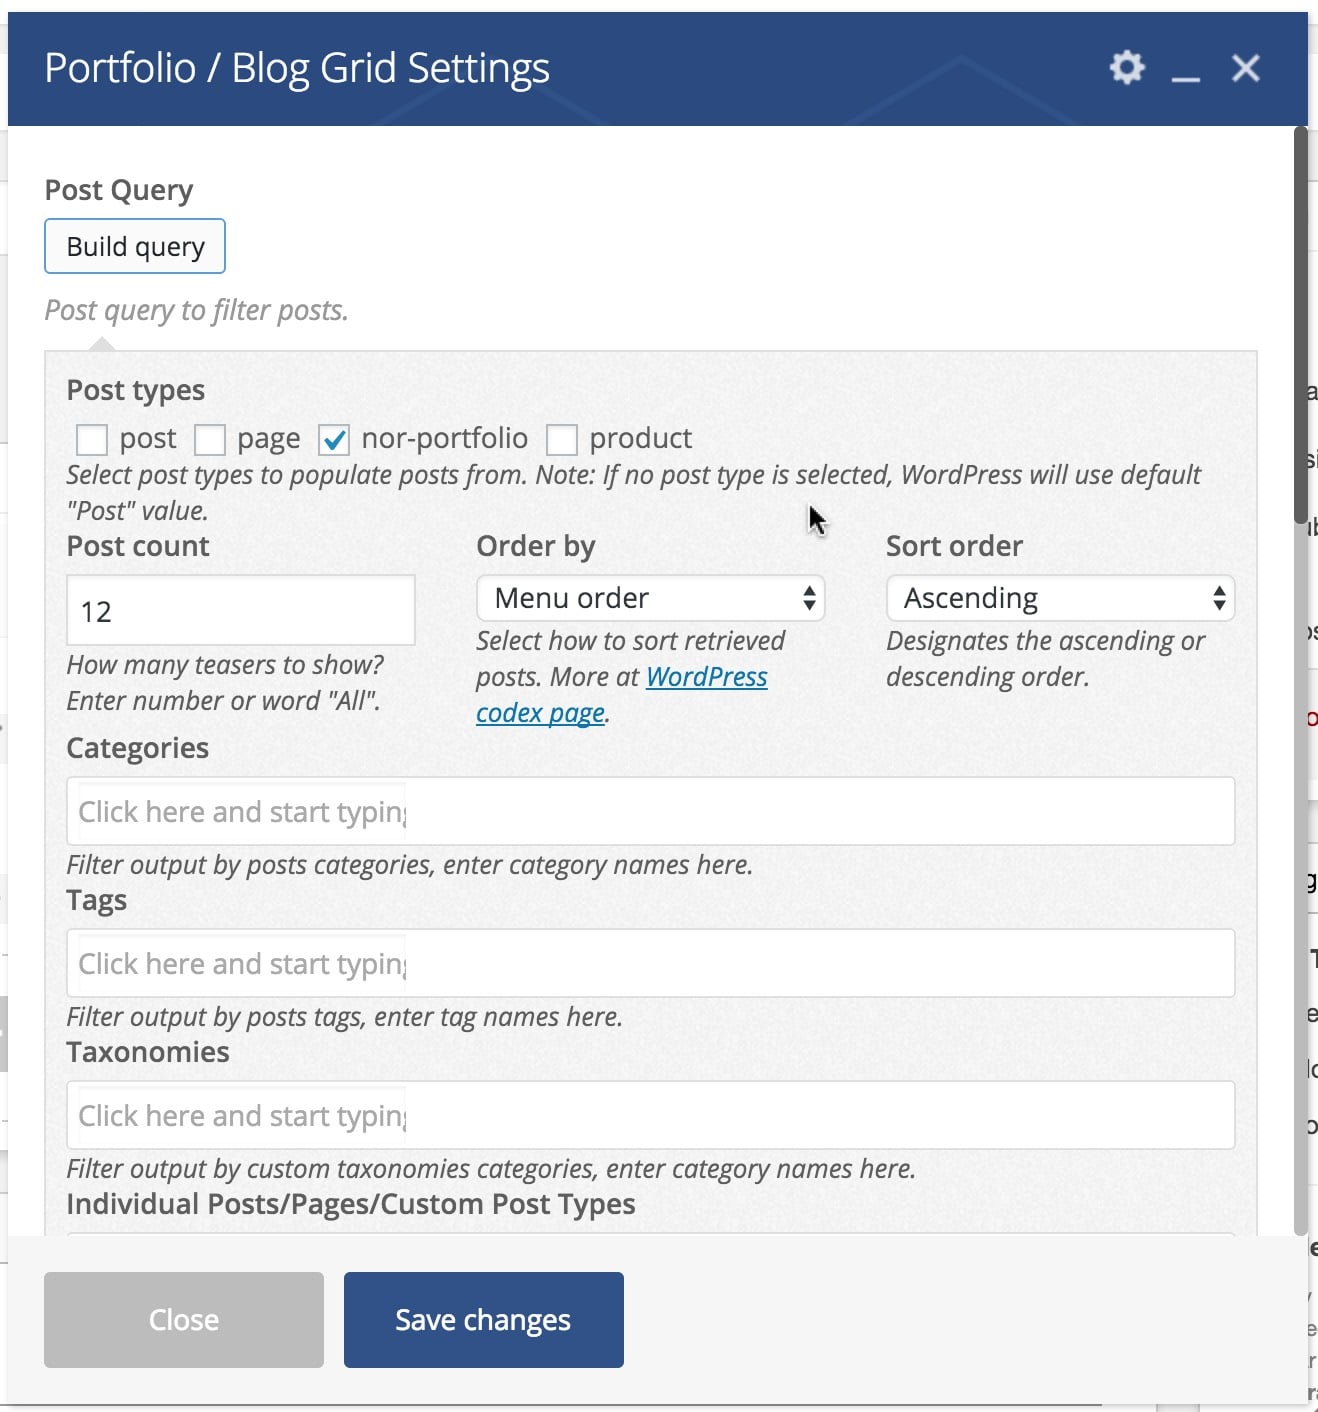
Important: The primary option here is Build Query which helps to build a custom post query. You can manage post limits, categories, and ordering.
Post Types option shows the available post types and fetches posts from a specific post type. We recommend selecting only one post type at a time, even though VC allows you to select multiple post types.
In the available list, post refers to Blog and nor-portfolio refers to Portfolio. Other post types will also appear if you’ve created additional post types.
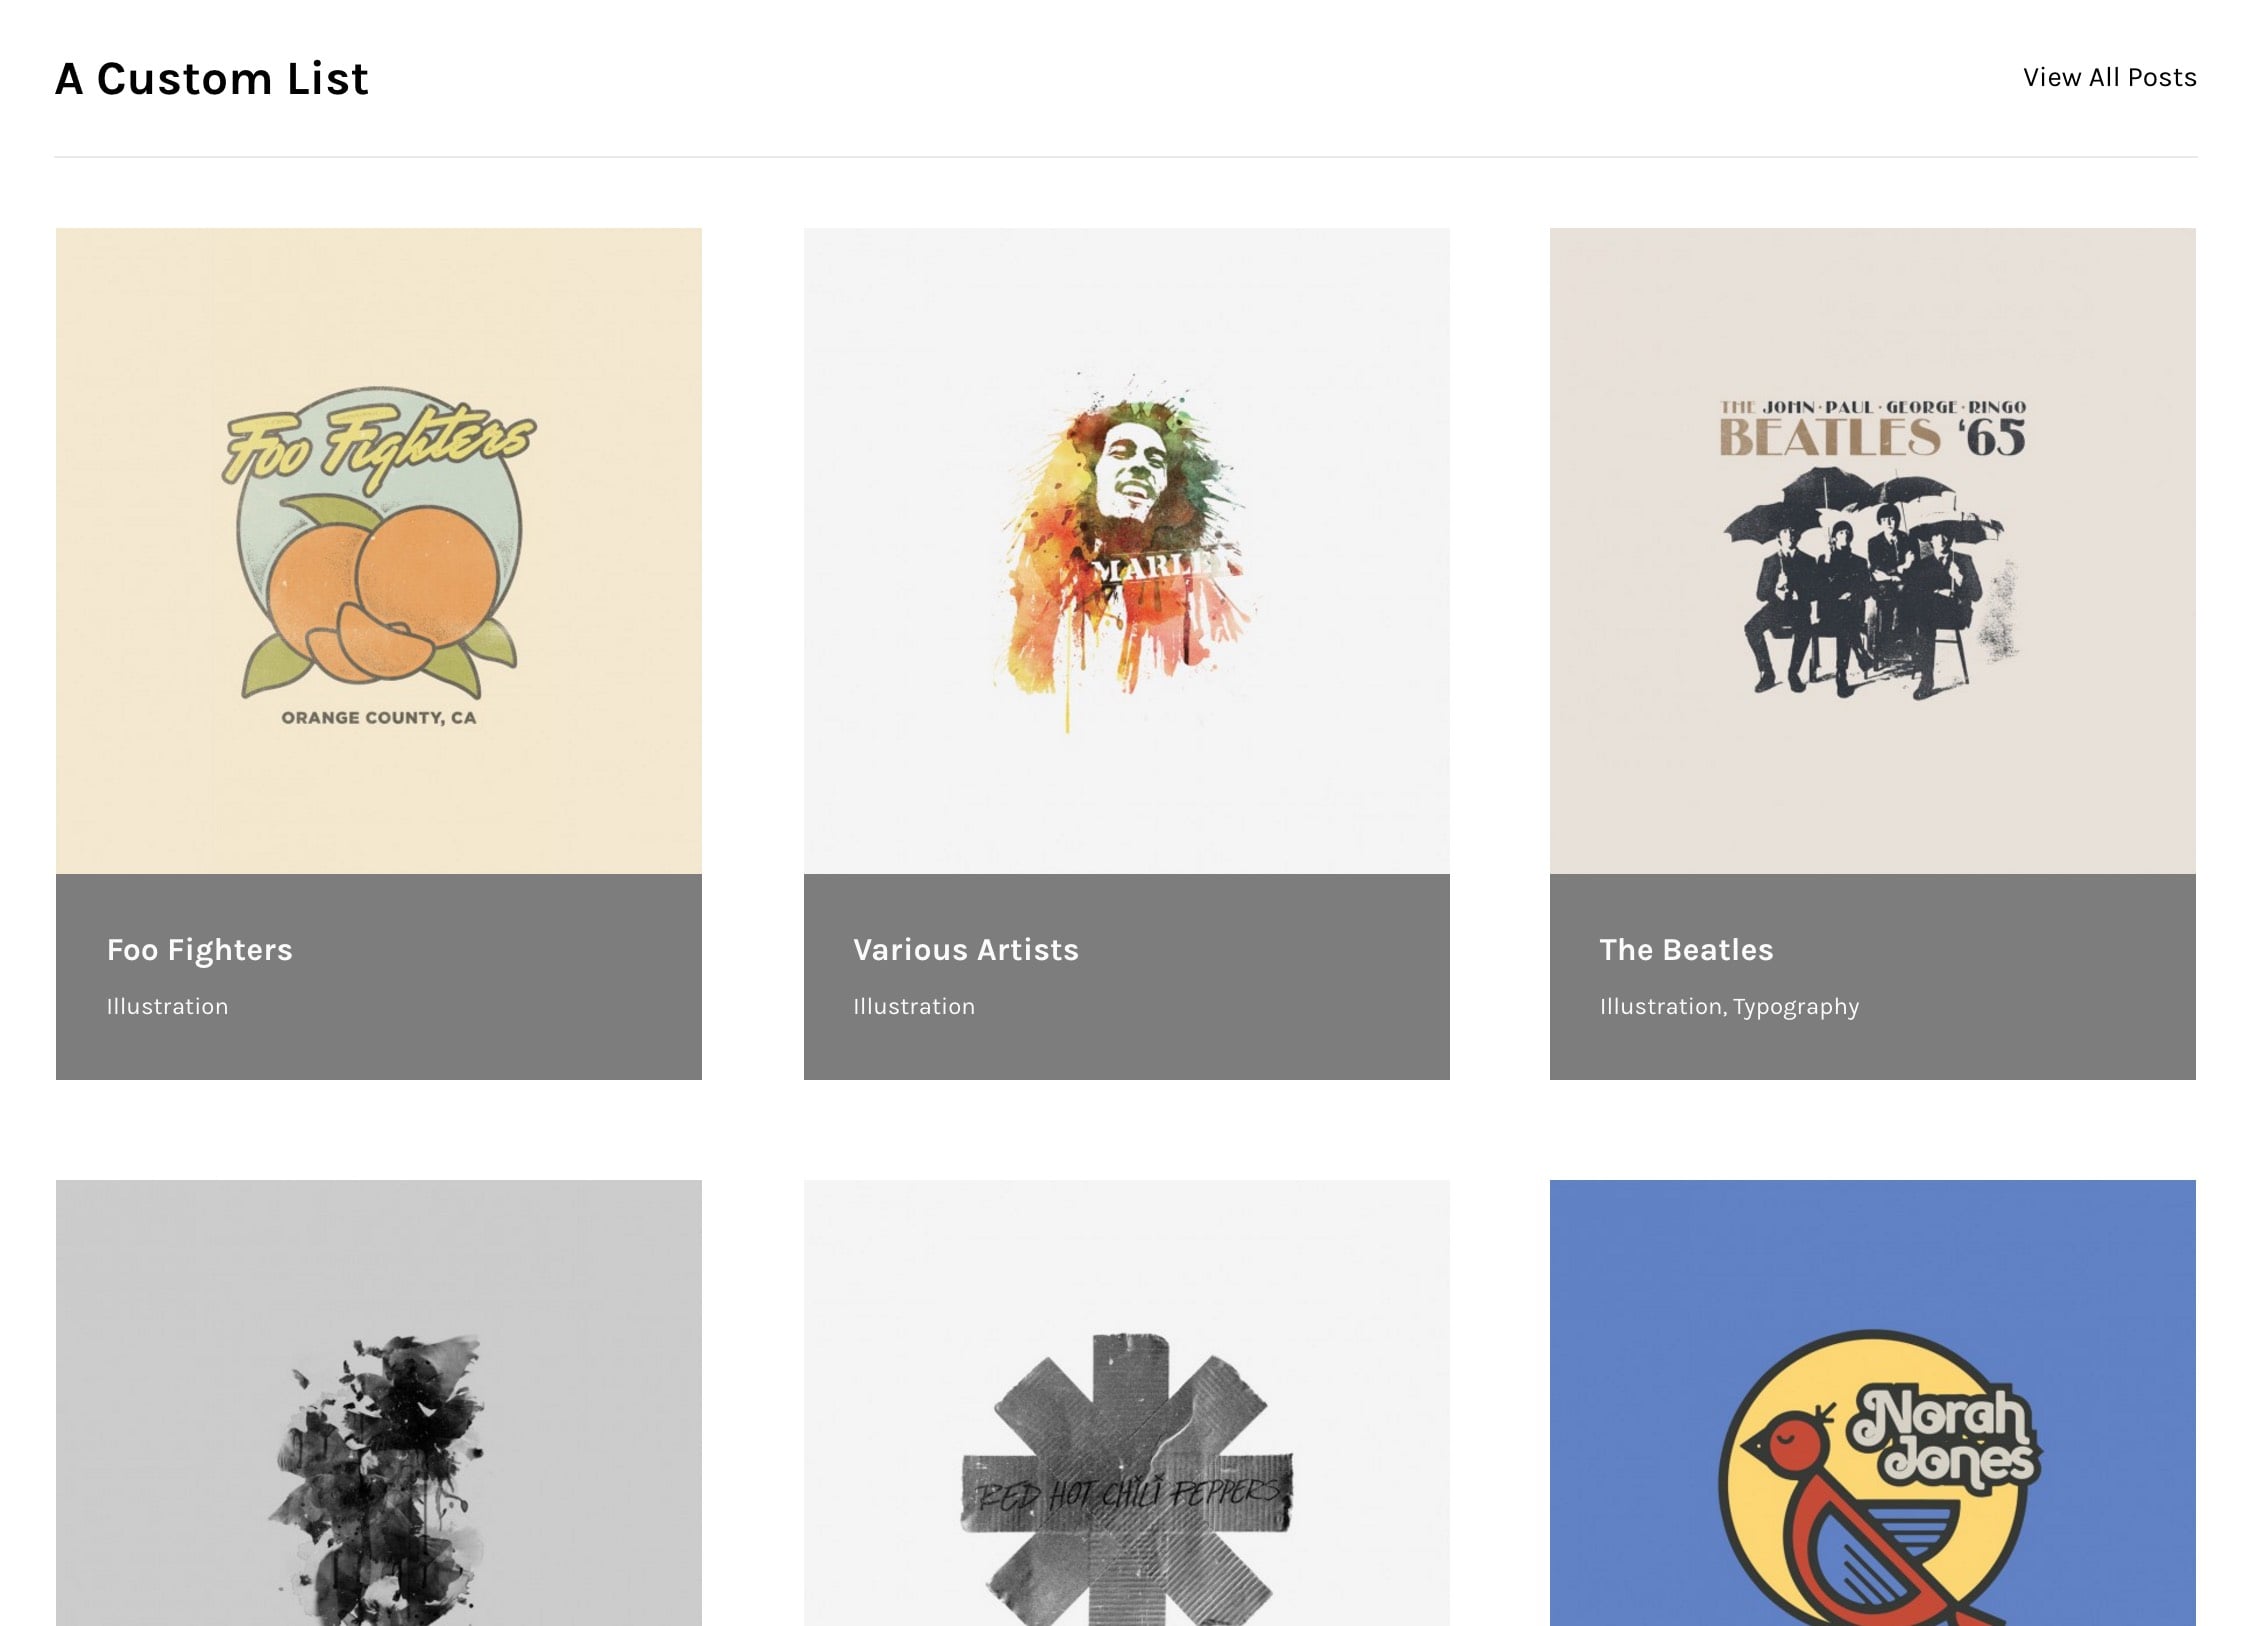
Once you’re satisfied with the settings, click the Save Changes button, then Update in the Publish panel to save the changes on this page.
Finally, view the page on your website to see the results.
Tip: If you can’t see any posts, ensure you’ve added posts to the Blog and/or Portfolio.
Services
To display the services you provide, use the Services element, which allows you to select icons from an extensive list.
The Services element is another type of WPBakery element. It provides a parent element to modify layout settings.

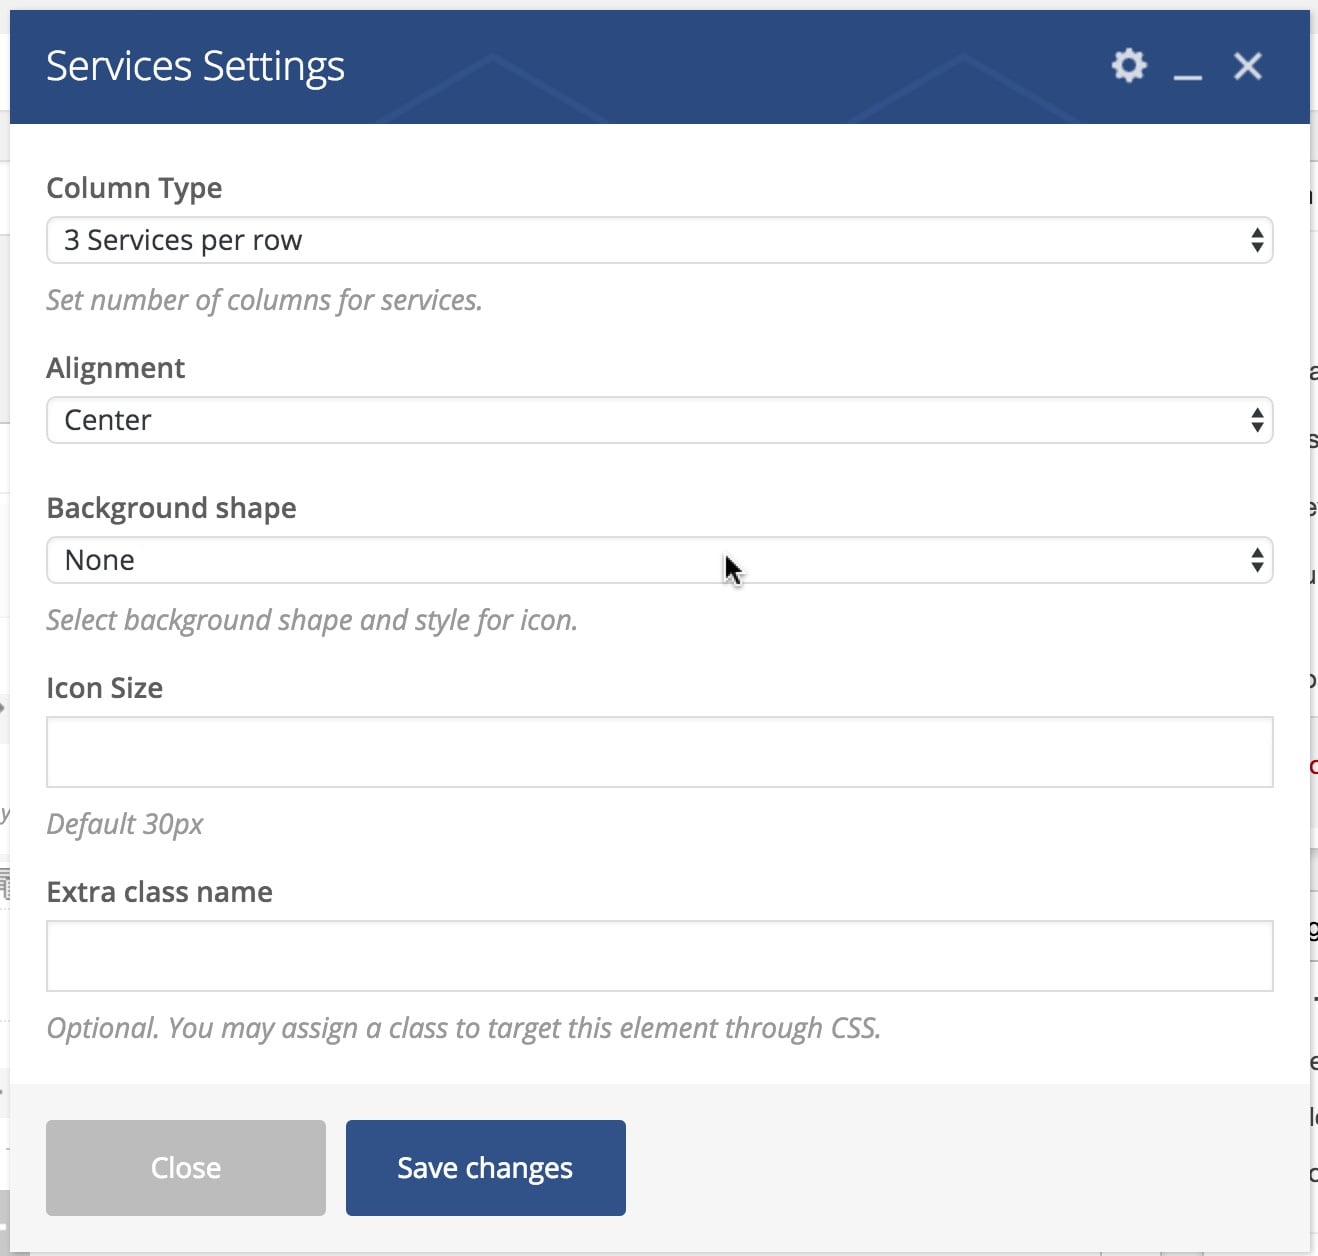
The parent Service element comes with Column Type and Alignment settings, while other element types may offer various options.
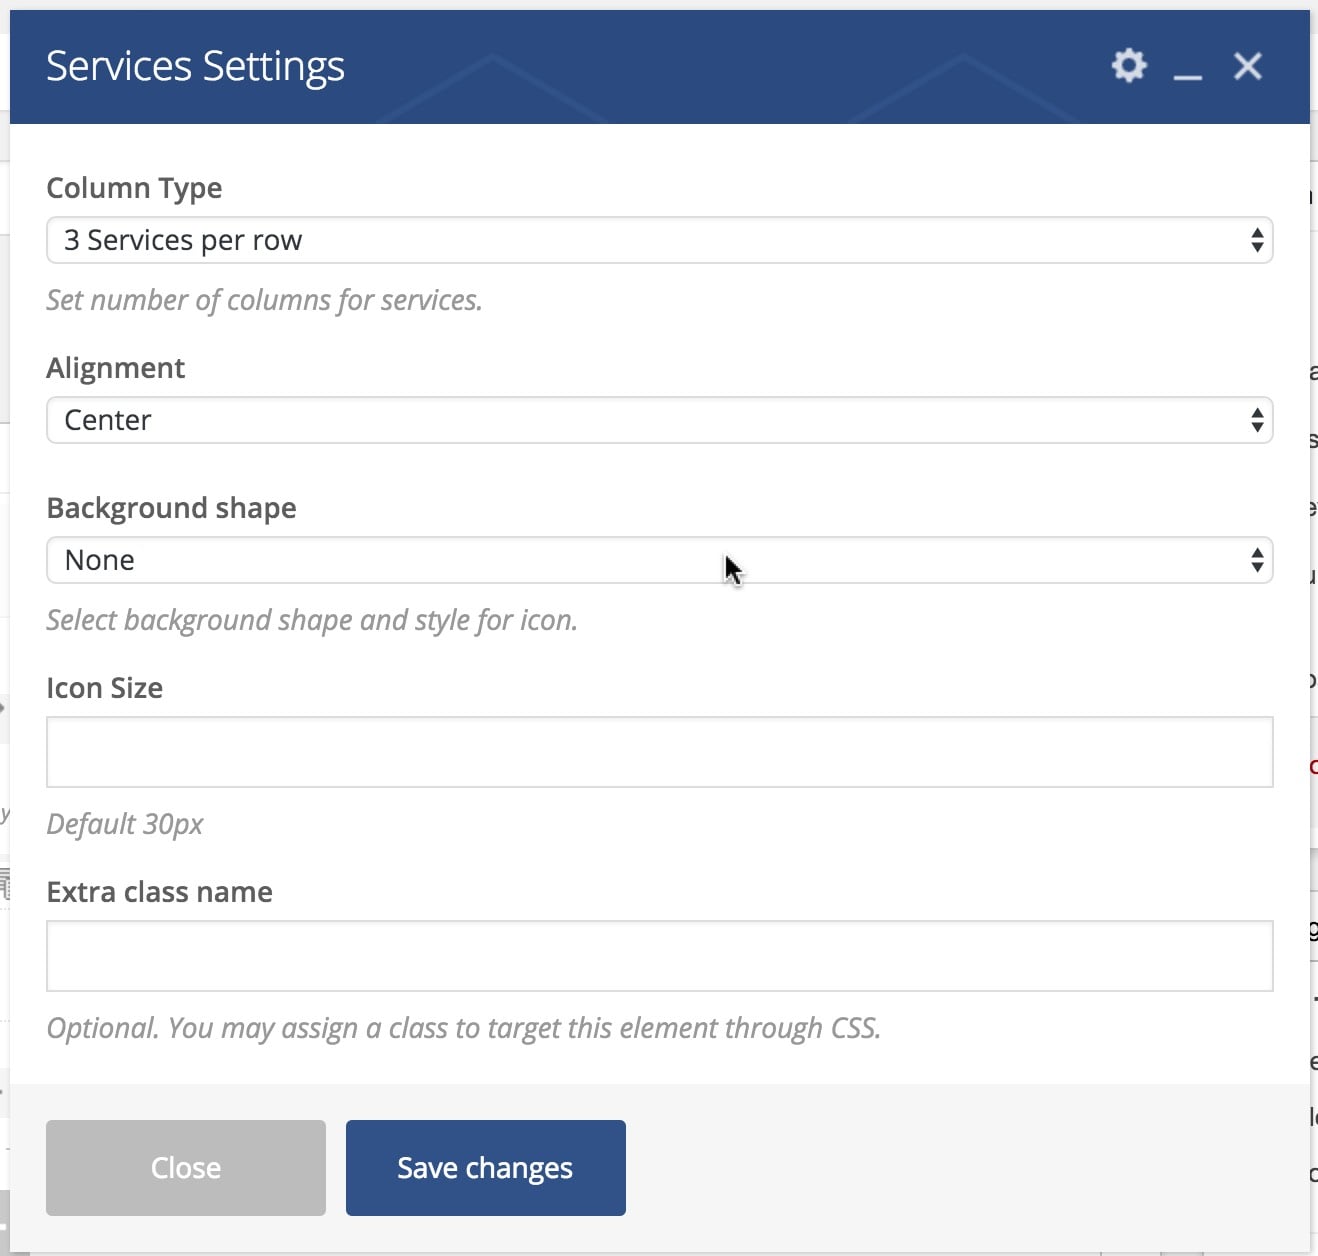
Clicking the parent element’s plus (+) button will add a new sub-element (service in this example). You can reorder elements and sub-elements through a simple drag-and-drop interface.
WPBakery Page Builder Documentation
The features covered in this section are the fundamental WPBakery Page Builder features. For advanced features, refer to the official WPBakery documentation: